Thursday 12 January 2023
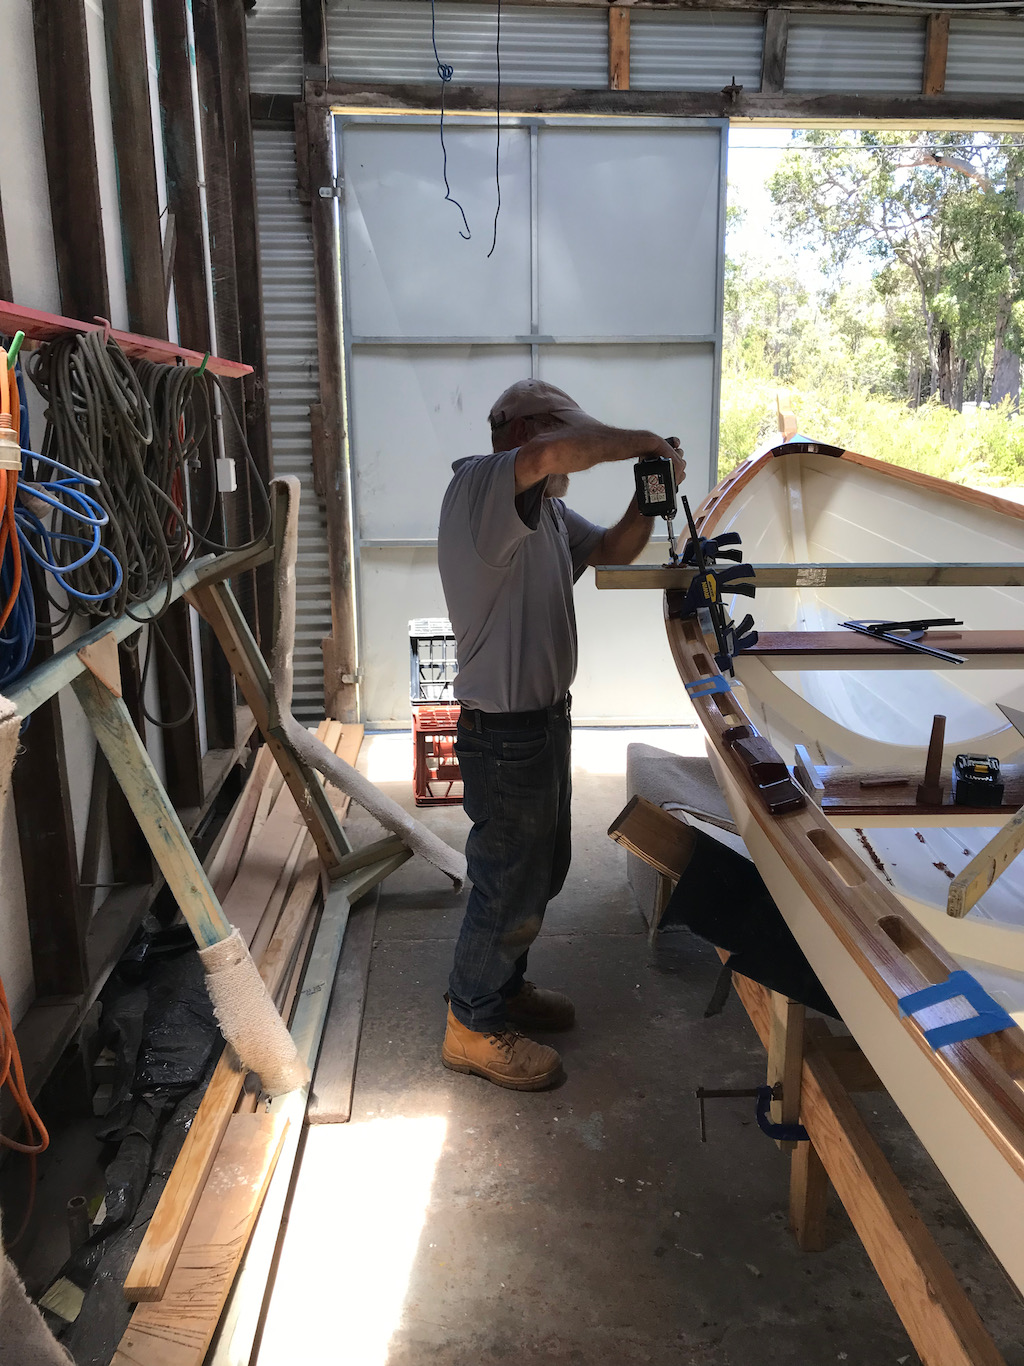
Lots of sleepless hours had gone into thinking about how to drill the rowlock pin holes in the gunwales and not just my sleep. JD and Peter K had been tinkering with this problem for several weeks. They both joined me in the shed today along with John I and Adrian.
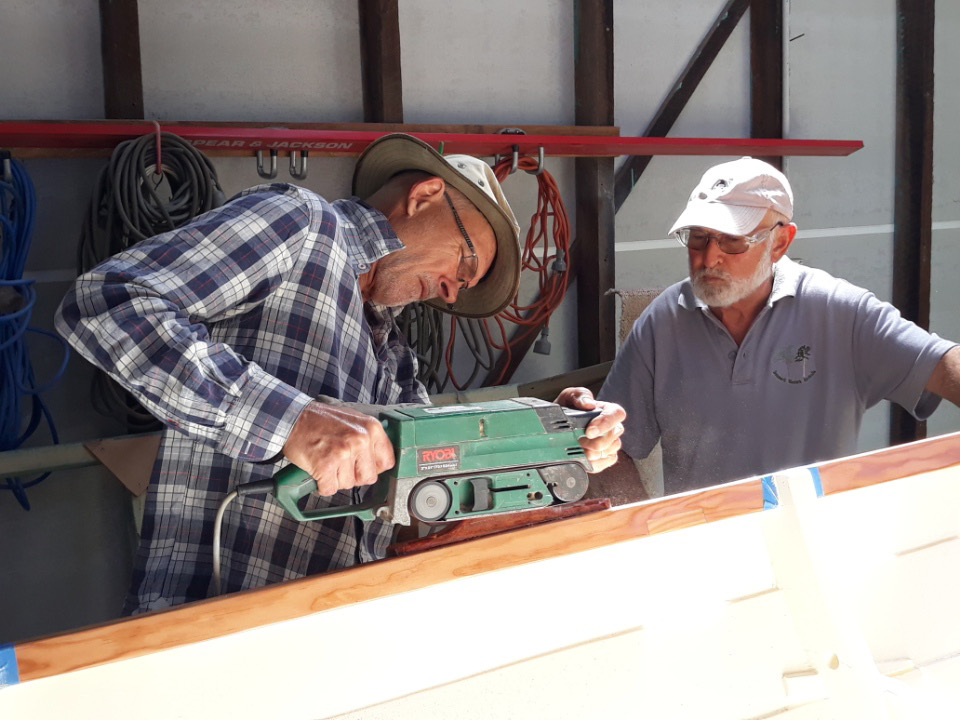
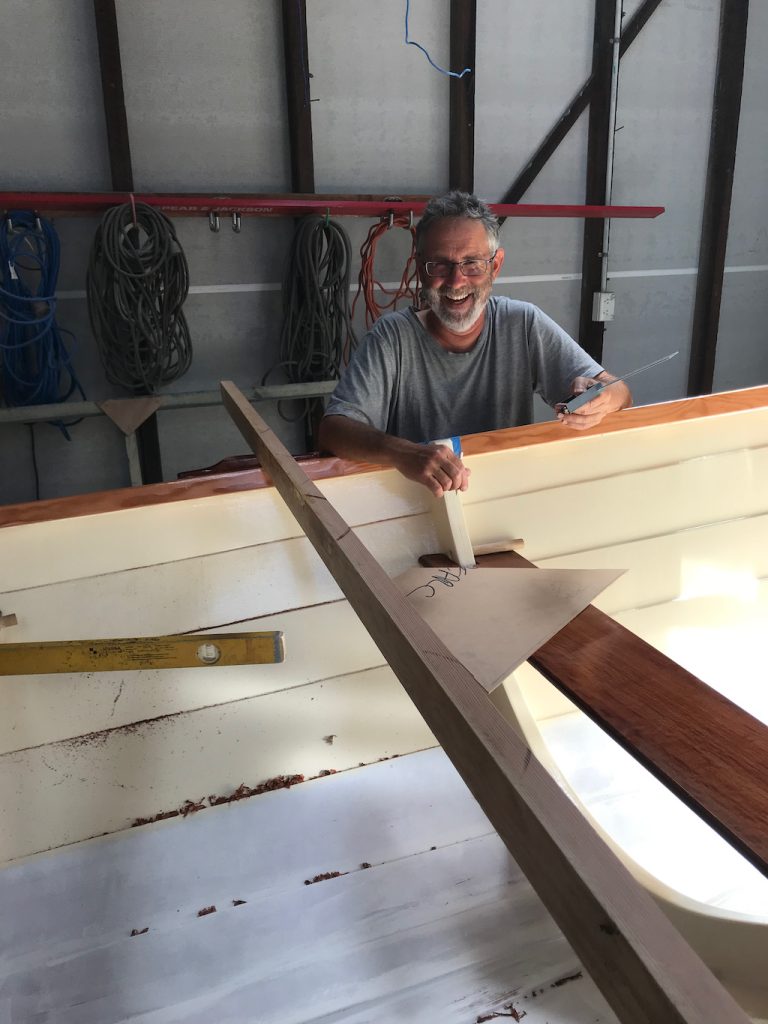
The main aim was to get the pins as upright as possible. Because of the shape of the beautiful sheoak rowlock blocks we were not going to be able to make them perpendicular to the water without drilling through the side of the boat. The first step was to level up the boat and then create a fore and aft level top to the blocks with an approximately 12 degree outboard slope. We tried the plane to start with but sheoak is tuff stuff and it would have taken a long tome to do the 8 blocks. We resorted to the belt sander with great results.

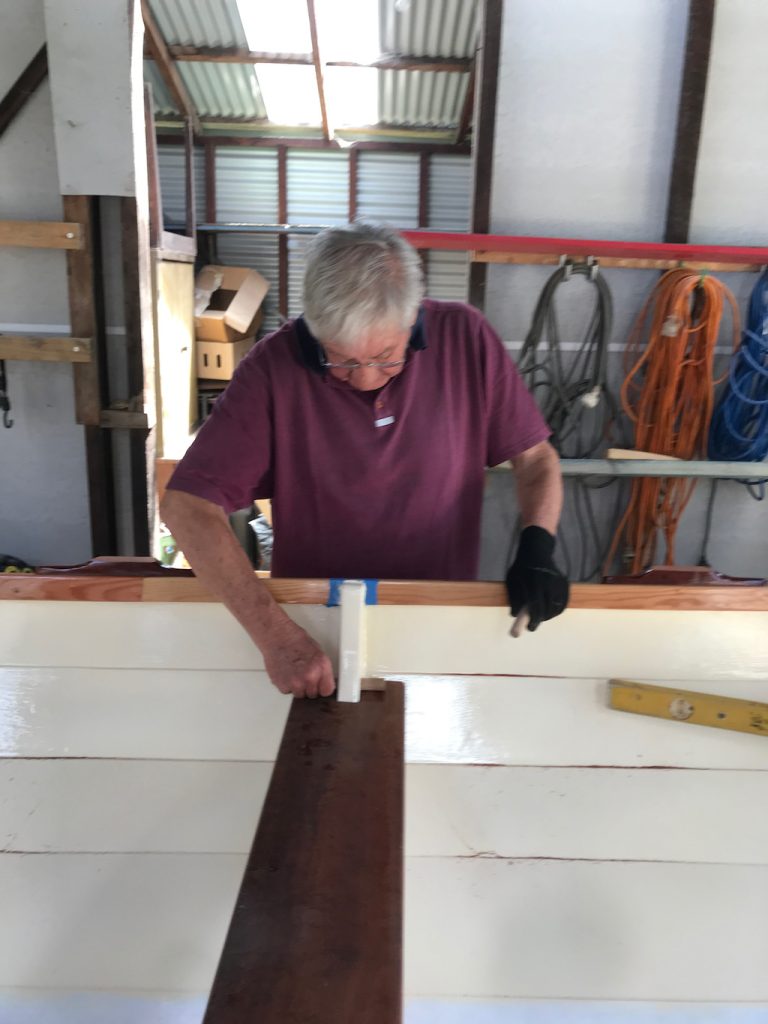
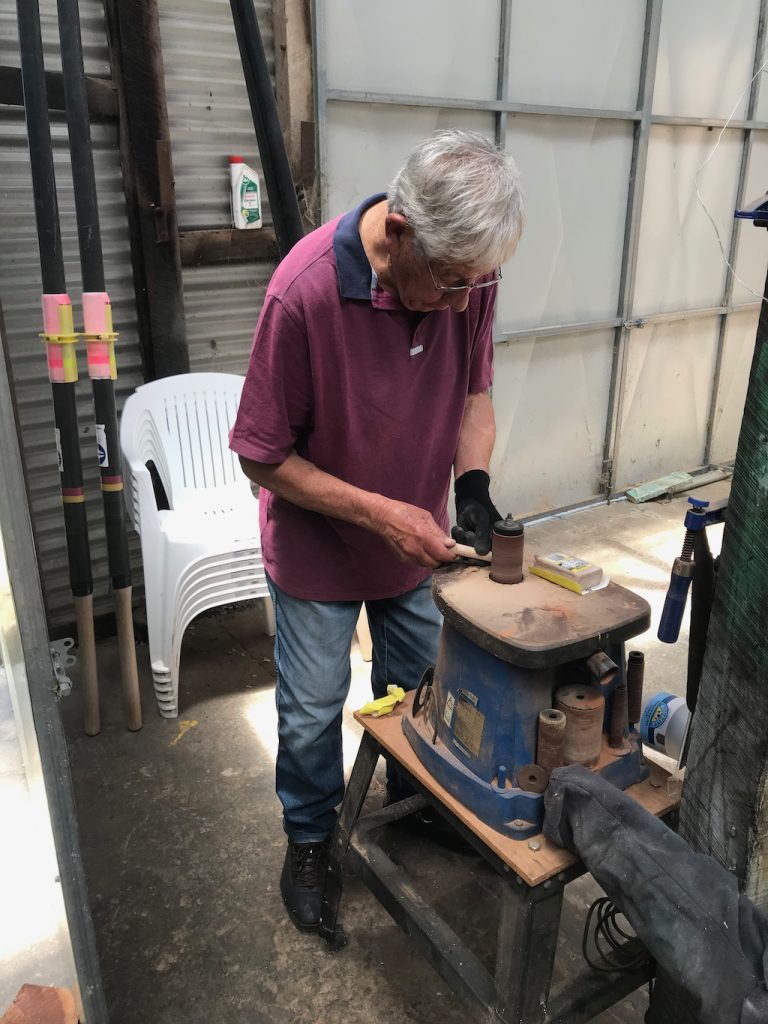
Meanwhile Adrian and John I cut the dowel (broom handle) that we are using to secure the thwarts with. They required shaping to a taper to get them to fit in the holes in the frames and we fitted the thwarts and John I further refined them for individual positions.
Peter K took on the highly technical task of working out what angle we could drill the peg hole at and still come out inside the boat. The worst position is at the bow where the angle of the gunwale and the plank below are more acute. That’s where we started with each operation so that the holes remained at a constant angle to vertical (10 deg) along the boat. Peter drew up diagrams on waste mdf and on a long piece of scrap framing timber we were going to use as a jig.
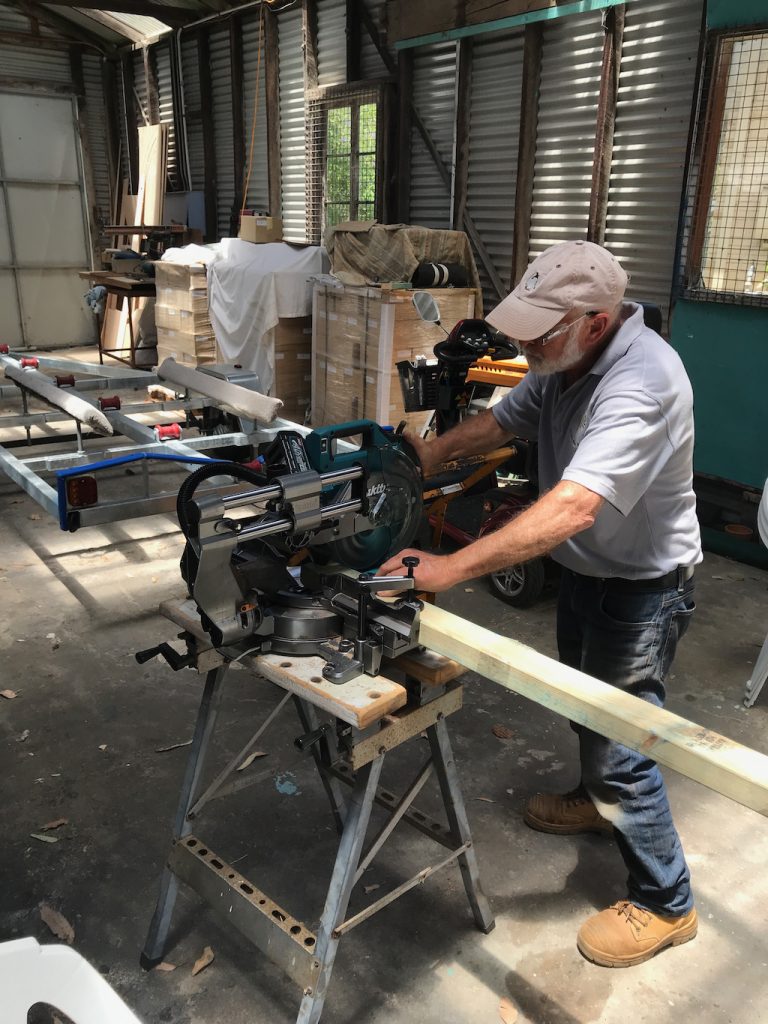
The next part of the job was to drill 19mm holes in the jig at the 10 degrees required. This started by JD trimming the jig timber to have square ends and then using Harry’s drill press to drill the holes with the timber angled at 10 degrees.
At this point we stopped for tea and biscuits with Harry and Kay. They have kindly offered to host a barbecue to celebrate the completion of boat 2 but there is a catch. We are going to have to sing sea shanties for our supper.
After the tea break I left JD and Pete to their drilling and fitted first the cox’s seat extender with brass screws and then the bung holes with black silastic and stainless screws.
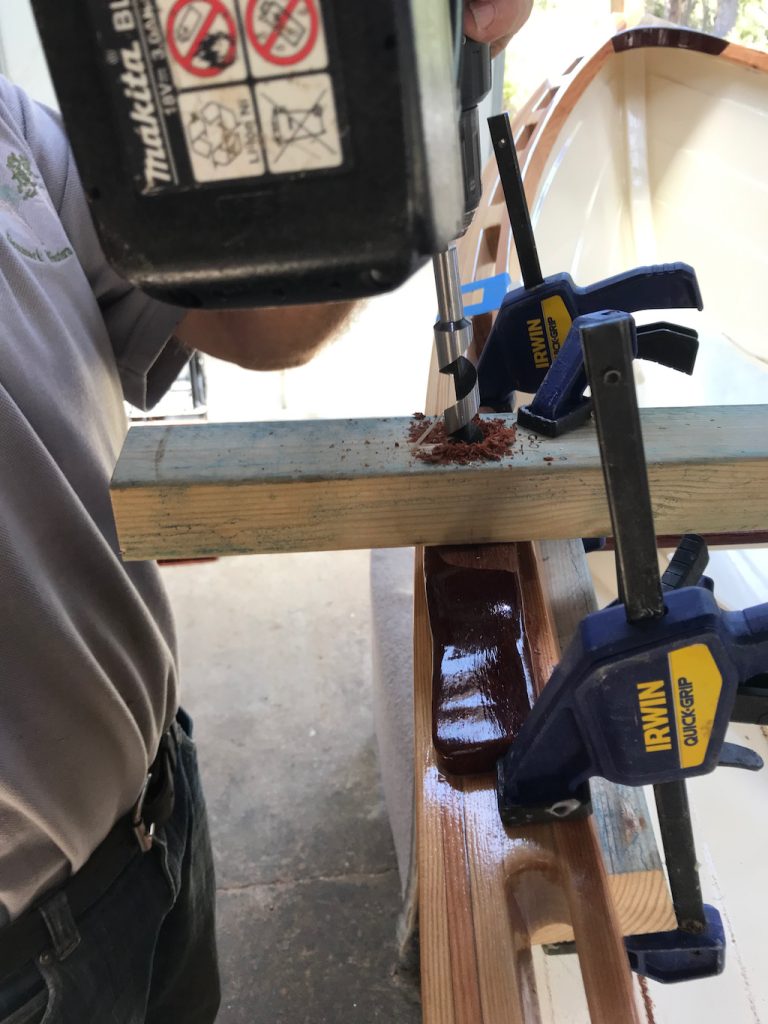
JD and Pete secured the jig in place across the boat and aligned the holes with a pre drilled pilot hole and then clamped it all up and drilled away. The hole came through a millimetre inside the plank everything had worked despite the nervous moments beforehand.

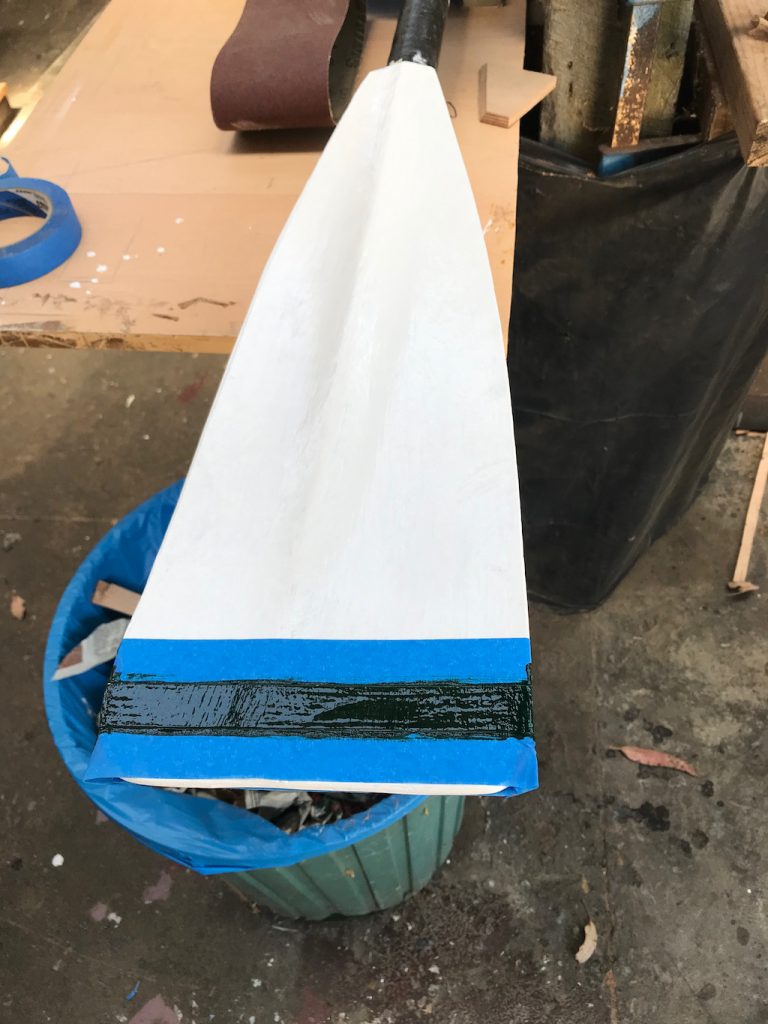
I did a couple more odd jobs. Painting a single green stripe on a replacement oar for St John’s bow position and resin coating John I and Pete’s footrest.

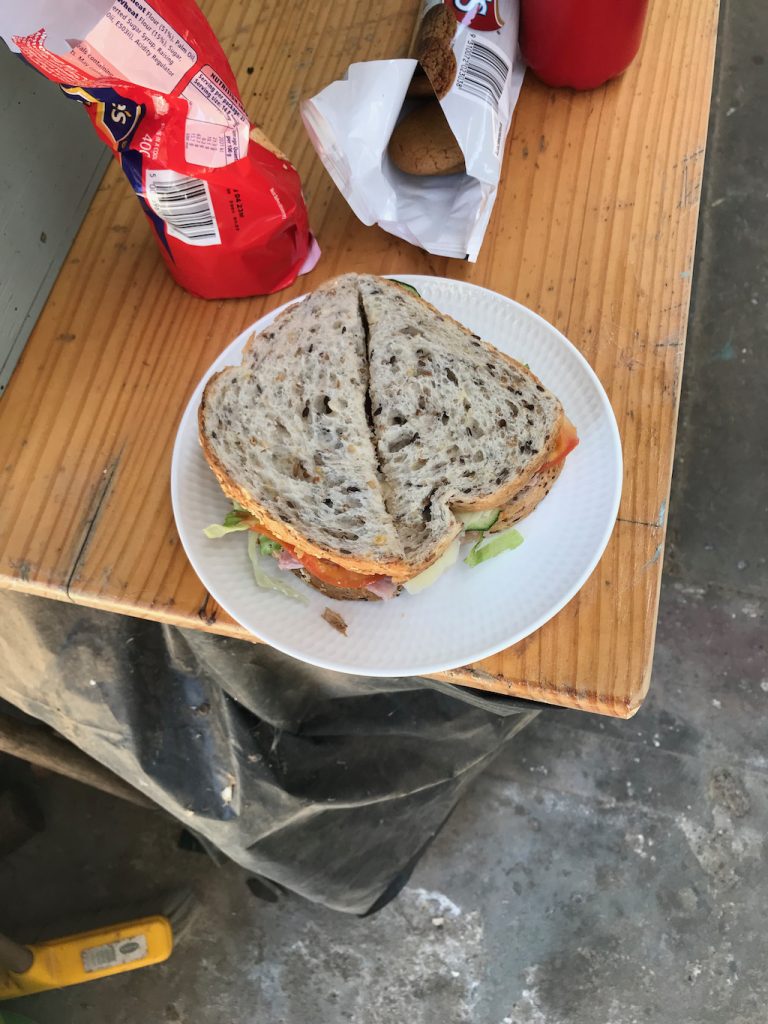
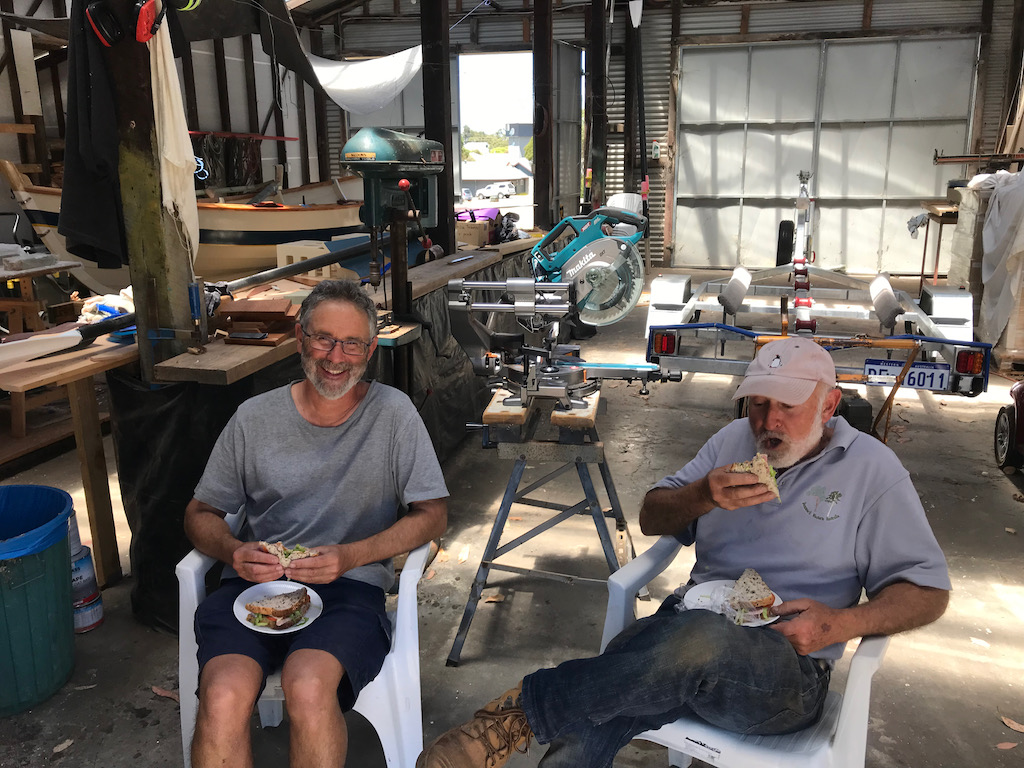
We had a real treat today because for the three of us left at lunchtime Kay very generously offered to make us a ham and salad sandwich each and they were fantastic. Thanks Kay.
It was a great day in the shed today and there won’t be many more like it now as we near completion of boat 2. Peter and I finished off the day with a curry at the tavern and a long discussion about wooden oars.
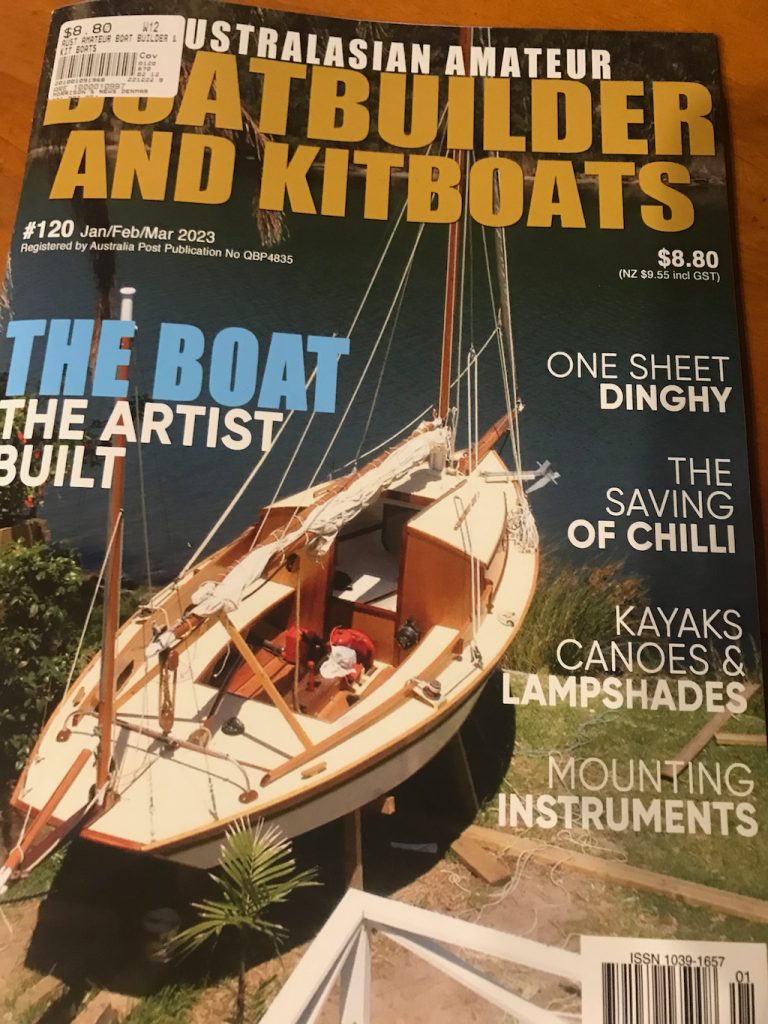
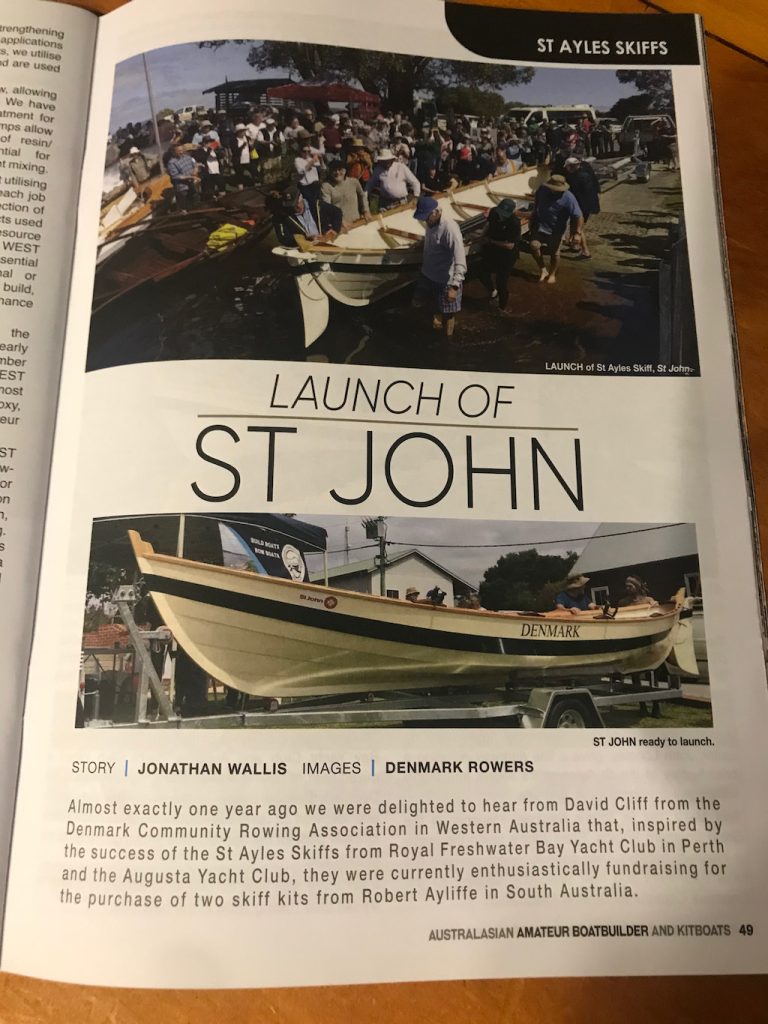
A report on the launch day for St John made it into the latest edition of Australasian Ameteur Boatbuilder and Kitboats magazine which is now on sale in Morrisons. Thanks to all those who contributed pictures for the article, they look great.
Cheers Dave